
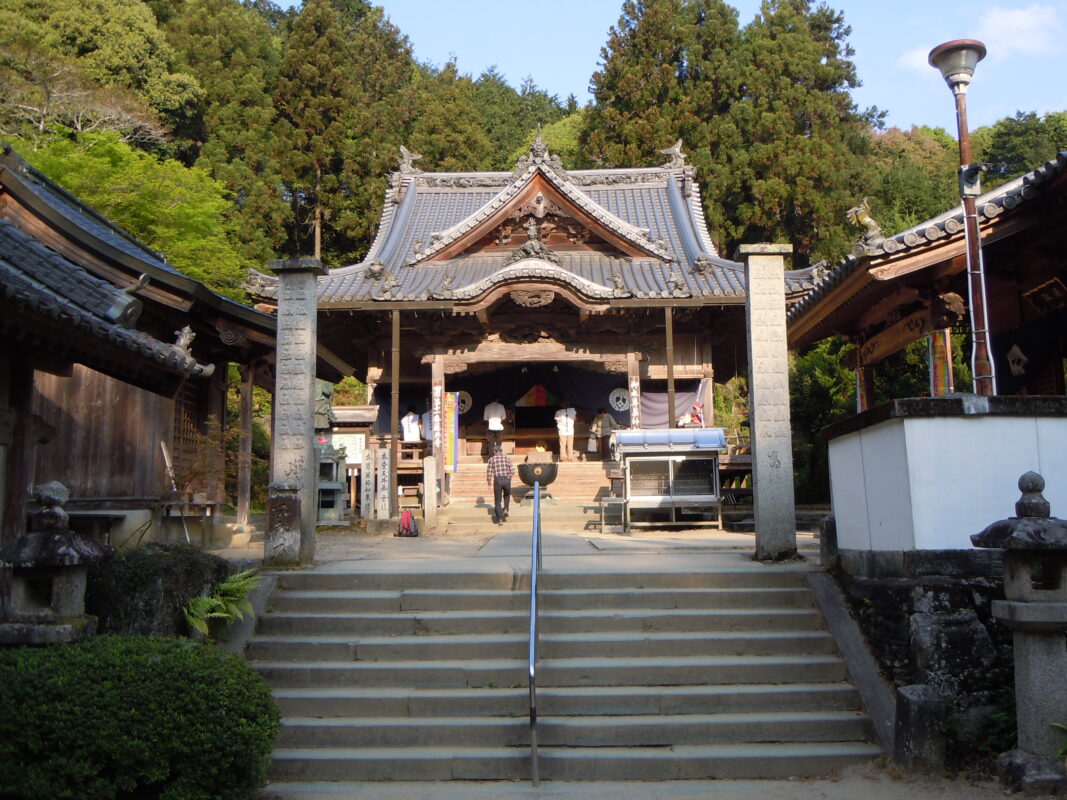
Fujiidera Temple Information
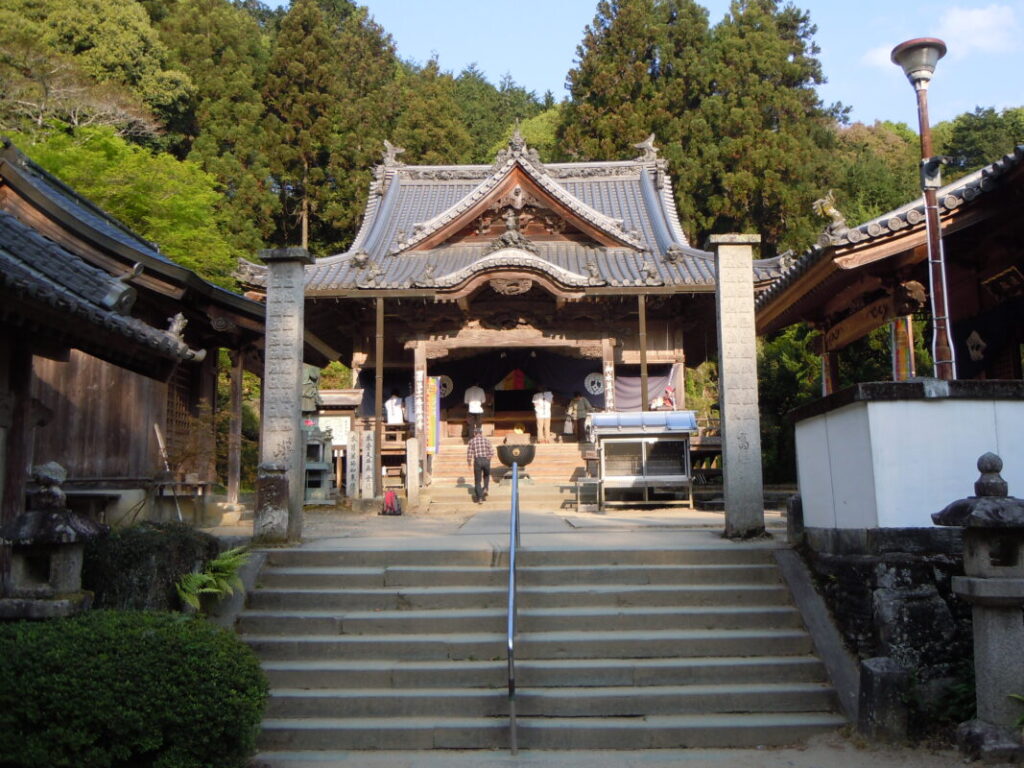
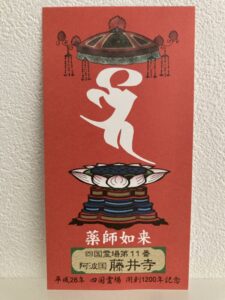
Goshuin
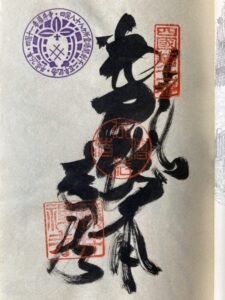
- Omie
- 1,200th Anniversary Edition
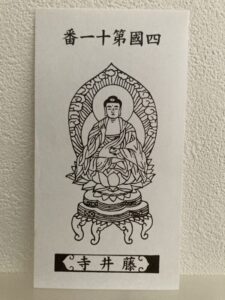
Basic Information
| Principal Deity | Yakushi Nyorai |
| Elevation | 40 m |
| Google Maps | MAP |
Accommodation
| Shukubo (Temple Lodging) | Not Available |
| Tsuyado (Free Pilgrim Shelter) | Not Available |
History & Highlights
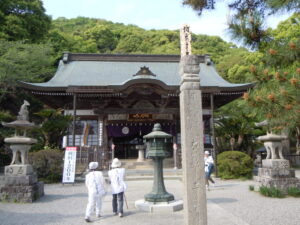
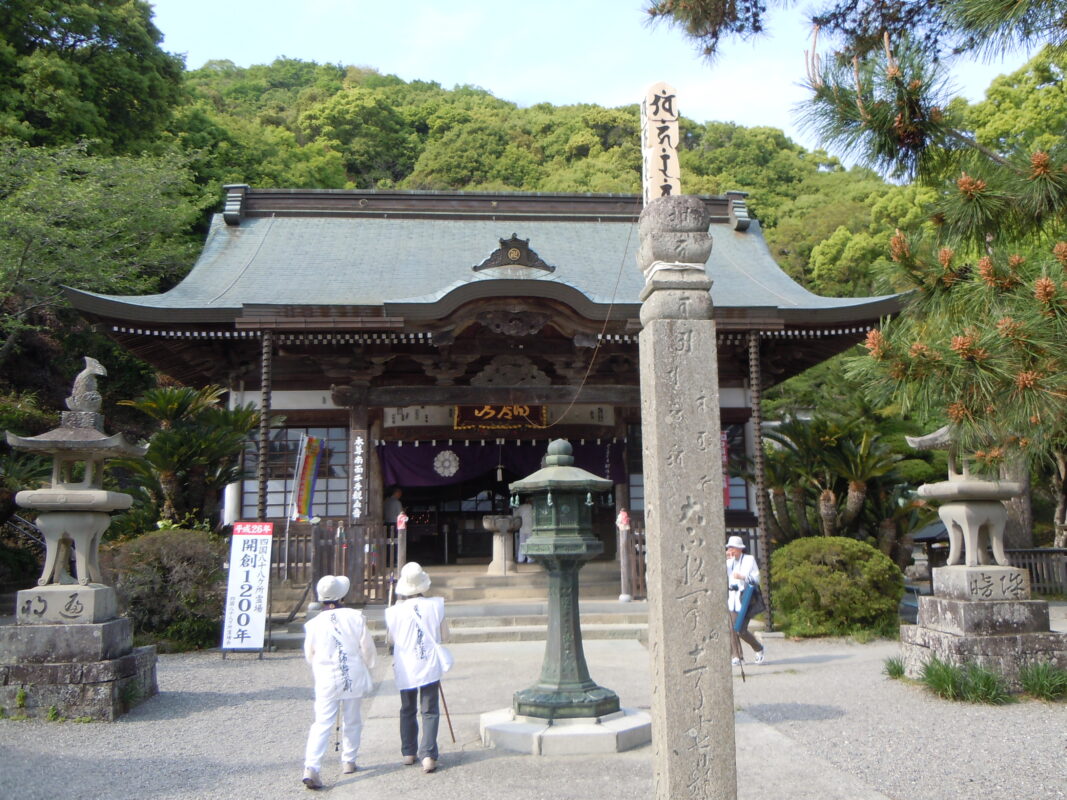
According to temple tradition, Fujii-dera was founded in 815 when Kobo Daishi performed a Goma fire ritual and carved a statue of Yakushi Nyorai (the Medicine Buddha). The temple is said to have been named after the five-colored wisteria he planted within the grounds. Although it was destroyed by war and fire, it was later rebuilt. Its principal image is designated as an Important Cultural Property, and the temple is widely revered for the healing and protective blessings of Yakushi Nyorai.
Notes
Parking: ¥300 for standard passenger cars.
Route Map, Distance & Travel Time
You can switch between the tabs to view the routes to the previous and next temples.
Select “Driving Route” from the map’s upper-left menu to display the driving route.
Click the Full Screen icon in the upper-right corner of the map to open it in Google Maps for a larger, easier-to-view map.
- From Previous Temple
- To Next Temple
Previous Temple: Kirihataji
| Distance | 9.3 km |
| Walking | 2 hr 40 min |
| Driving | 35 min |
Next Temple: Shosanji
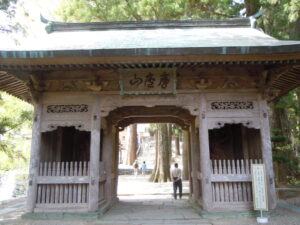
| Distance | 12.9 km |
| Walking | 7 hr |
| Driving | 1 hr 30 min |
My Walking Experience
The walk from Kirihata-ji to Fujii-dera is a relatively easy section that crosses the Yoshino River before heading south. Around Kamojima Station, you’ll find restaurants, convenience stores, and accommodations, making it a convenient place to stay before tackling the challenging climb to Shozanji the following day.
Crossing the Yoshino River
There are two main routes for crossing the Yoshino River.
The western route crosses the Kawashima Chinsui Bridge, a traditional low-water bridge that preserves the atmosphere of the old pilgrimage route. However, the road is narrow and shared with vehicles, so extra caution is required.
The eastern route follows National Route 318, where sidewalks make for a safer crossing. Since the distance is almost the same, I recommend this route, especially if it’s your first time walking the pilgrimage.
Preparing for Shozanji
Shozanji is famous for the demanding Henro Korogashi (“Pilgrim’s Roll”) mountain trail.
The most important thing on this section is preparing for the next day’s hike. I recommend buying plenty of snacks and drinks at the convenience stores around Kamojima Station, as there are no shops once you enter the mountain trail. If you’re staying overnight, accommodations near either Kamojima Station or Fujii-dera make for an easier start the following morning.
Places to Take a Break
Egawa Kamojima Park
This park has toilets and covered shelters, making it a comfortable place to rest during your walk.
Kamojima Onsen
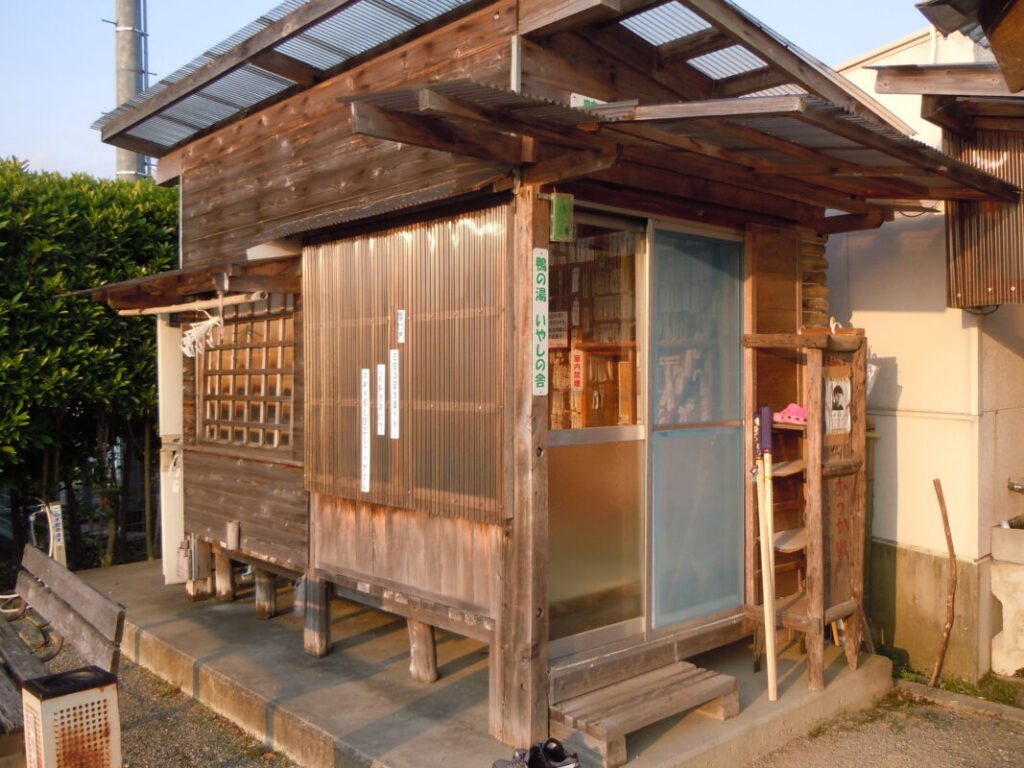
Located about 1 km south of Kamojima Station, this hot spring also offers access to a zenkonyado (free pilgrim lodging) for guests using the bath. I stayed there myself and found the small hut—about 5–6 tatami mats in size—to be simple but more than adequate for shelter from the rain and wind.
Nearby Accommodation
If you plan to stay near Fujiidera or between the surrounding pilgrimage temples, see the article below.
Related Articles
Shikoku 88 Temple Pilgrimage Route: Full List, Distance & Walking Time Guide.
Temple List and Full Route
Comments